In the world of DIY electronics, the M5C Display Screen Kit stands out for its impressive features and flexibility. This nifty little kit allows makers to incorporate high-quality visual elements into their projects, transforming simple ideas into interactive experiences. Whether you’re looking to create a gaming interface, a user-friendly display for home automation, or a unique digital weather station, the M5C Display opens up a realm of possibilities that is as exciting as it is accessible. This post will guide you through everything you need to know about the M5C display, from setup to project ideas.
Exploring the M5C Display Screen Kit
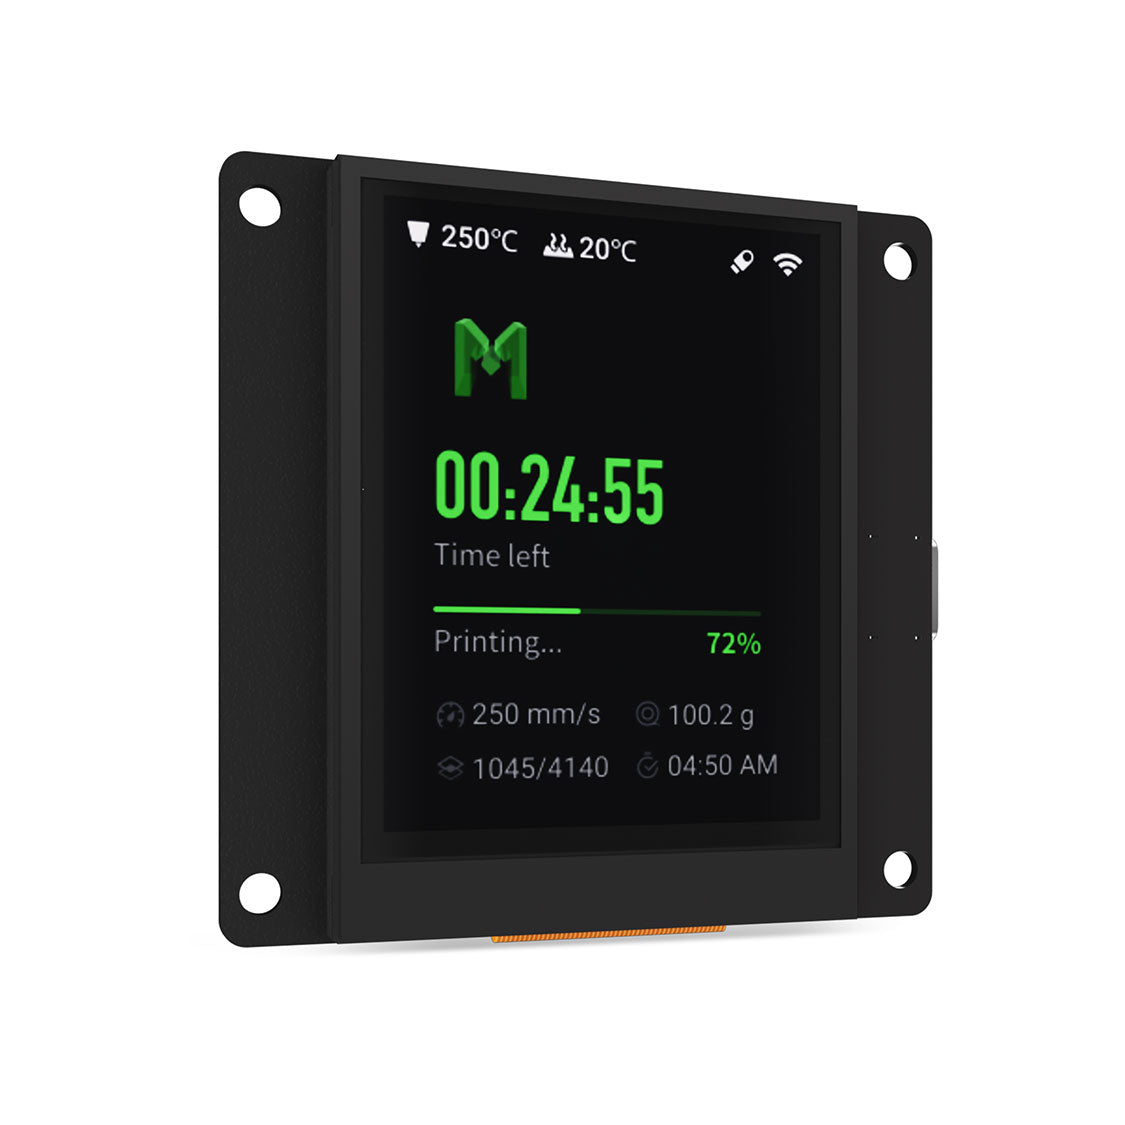
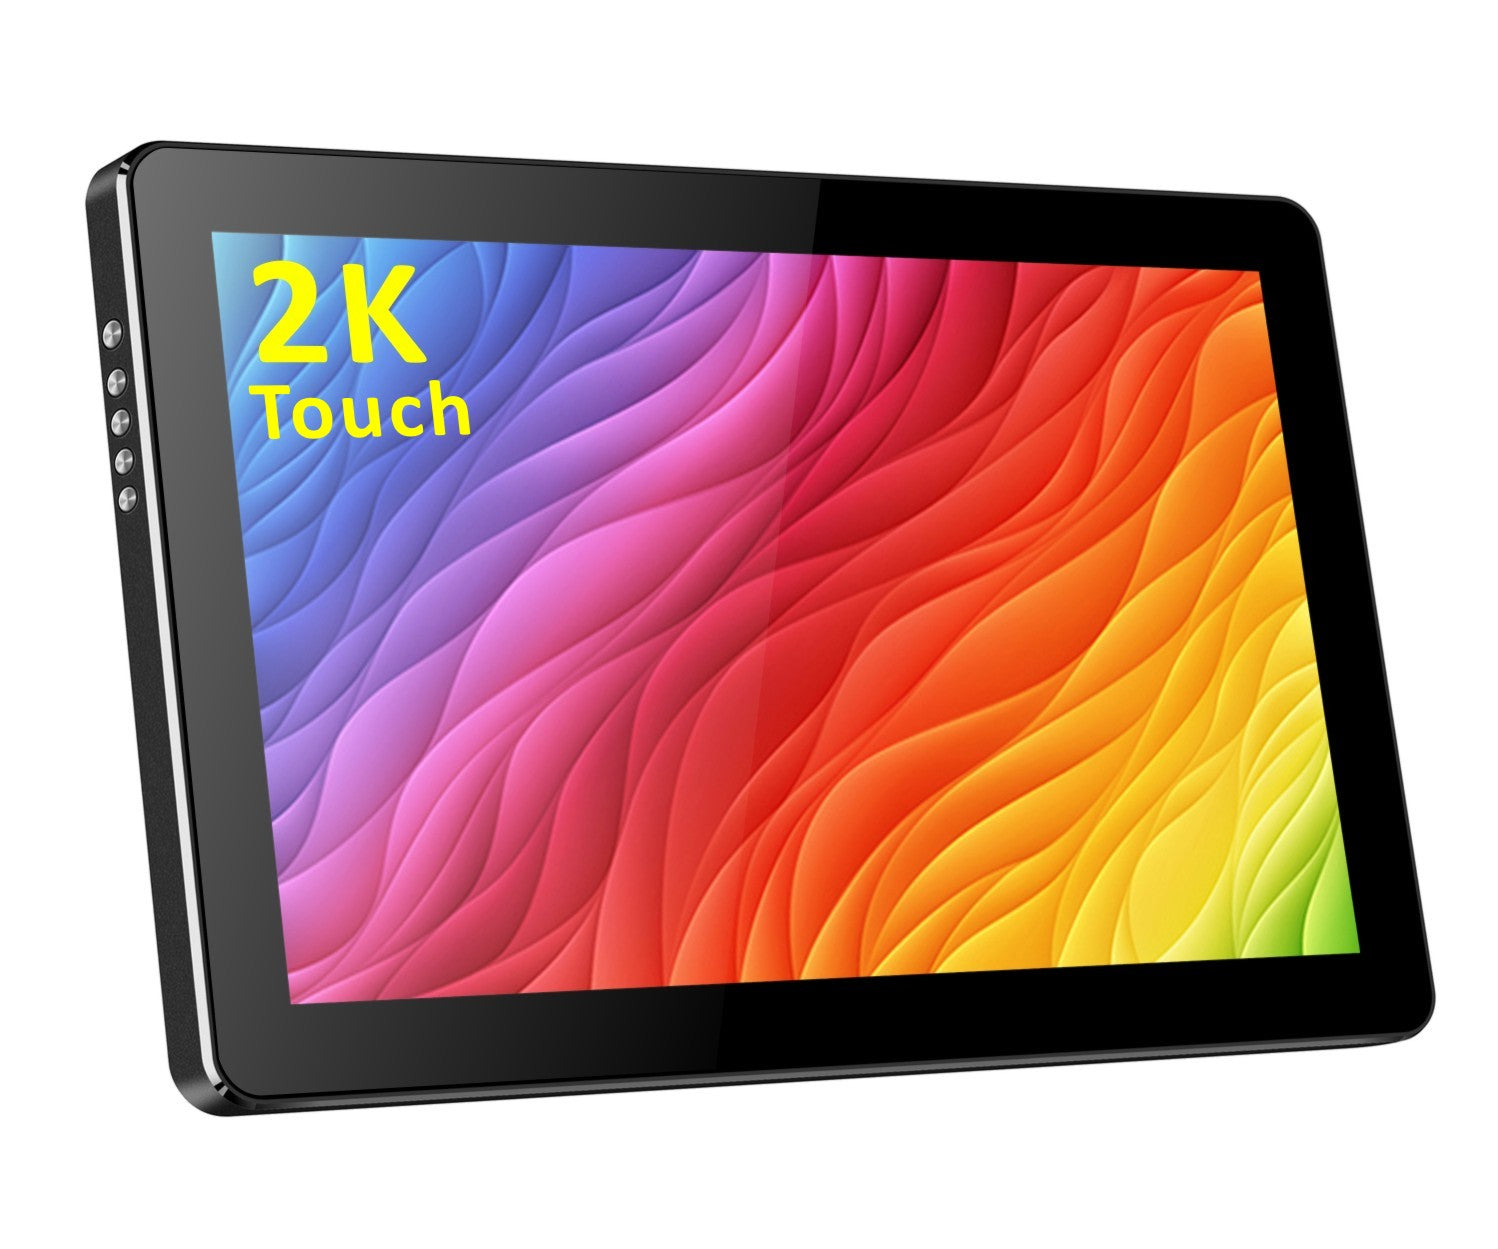
The M5C Display Screen Kit is not just another gadget; it’s a powerhouse packed with potential. Featuring a 320×240 pixel resolution, it delivers clear and vibrant visuals that make your projects come alive. The kit supports various connectivity options, including I2C, SPI, and UART, making it highly compatible with popular microcontrollers like Arduino and Raspberry Pi.
One of the standout features of the M5C is its user-friendly design, which boasts a simple interface that makes it easier for both beginners and advanced users to operate. It’s tailored for a variety of applications, including gaming and interactive displays. Imagine building a custom arcade game or an informative dashboard that updates in real time; the M5C can help you make those ideas a reality.
Getting Started with the M5C Display Screen Kit
Before diving into the exciting world of projects, it’s essential to gather the right tools and materials. Here’s what you’ll need to get started:
- M5C Display Screen Kit
- Your choice of microcontroller (Arduino, Raspberry Pi, etc.)
- Connecting wires
- Breadboard (if necessary)
- Optional: Sensors or other modules for enhanced interactivity
Setting up the M5C is straightforward. Begin by connecting the display to your microcontroller using the specified pins according to the wiring diagram provided in the documentation. You’ll typically need to connect power, ground, and data lines. Once everything is hooked up, you can use the provided libraries for both Arduino and Raspberry Pi to kick things off. Look up some basic examples to familiarize yourself with how to control the display and get it responding to inputs.
Creative Project Ideas with the M5C Display
Gaming Applications
Want to channel your inner game developer? One fun project is creating a simple game using the M5C Display. For instance, consider building an electronic version of a classic like Pong. Below is a basic approach:
- Program the game logic using Arduino IDE.
- Make use of touch buttons to control paddles.
- Utilize the display to show the ball movement and scores.
Here’s a simple code snippet to get you started:
void setup() {
  // Initialize display and buttons
}

void loop() {
  // Game logic goes here
}
Interactive Displays
Another polished idea is designing a user interaction interface. Picture a home automation display that lets you control devices at the touch of a button. You can use the M5C to create a sleek, intuitive dashboard. This project can include toggles for lights, displays for temperature, and even visual feeds from smart cameras.
Customizable Widgets
How about building a digital weather station or clock? With the M5C, you can easily incorporate sensors to display real-time weather data. Here’s a quick outline for this project:
- Connect a temperature and humidity sensor.
- Write code to fetch and display data on the M5C.
- Customize the interface to your liking.
The result? A functional and visually appealing gadget that gives you the forecast right on your desk.
Tips and Tricks for Using the M5C Display Kit
While the M5C Display is user-friendly, there can still be bumps on the road. One common challenge is adapting the code from examples to suit your project’s unique needs. Don’t hesitate to reference community forums or the official documentation for help. Also, consider patience as a virtue; debugging sometimes takes longer than anticipated.
When integrating the display into projects, use best practices like properly handling power supply requirements to avoid flickering, and remember to test continuously as you build. This approach will save you time and frustration later on.
Wrap Up and Get Creative
The M5C Display Screen Kit is a versatile tool ready to elevate your DIY projects from mere ideas to interactive realities. With its robust features, you can easily experiment with gaming applications, interactive displays, or customizable widgets, making your projects more engaging than ever. Don’t shy away from sharing your experiences; your unique projects can inspire others in our geek community.
If you have any questions or project ideas, feel free to drop them in the comments section below. Happy building!