E-Ink display technology is a fascinating innovation that has transformed how we interact with screens. Unlike traditional displays that emit light, E-Ink works with microcapsules containing charged particles that take on different colors when exposed to electricity. This unique mechanism provides a reading experience reminiscent of ink on paper, making E-Ink an ideal choice for a variety of DIY projects. As we delve into the world of DIY E-Ink displays, we’ll explore potential applications that can enhance everyday life and spark creativity.
Understanding E-Ink Technology
What is E-Ink?
E-Ink, or electronic ink, is a display technology that mimics the appearance of printed paper. It operates by manipulating microencapsulated particles that are either black or white within a clear fluid. When an electric charge is applied, these particles move to the surface, forming text or images. This technology stands out against conventional displays, such as LCD or LED, which rely on backlighting and pixels to create images.
Advantages of E-Ink Displays
E-Ink displays come with a myriad of benefits that make them particularly appealing for DIY projects. Key advantages include:
- Low Power Consumption: E-Ink displays only use power when the content is updated, making them incredibly energy-efficient.
- Excellent Readability: They perform exceptionally well in direct sunlight, unlike traditional displays that can wash out.
- Lightweight and Flexible: New advancements in E-Ink technology mean you can find displays that are flexible and can be integrated into various forms.
E-Ink Display Applications
Current Uses in Consumer Gadgets
E-Ink displays have made a significant impact in the realm of consumer electronics, predominantly seen in E-readers like the Kindle, which dominate the market. Their ability to present text clearly for prolonged periods without causing eye strain is a game-changer. Additionally, smartwatches and wearables are leveraging E-Ink technology due to its low power requirements, enabling extended battery life.
Innovative DIY Applications
Beyond mainstream gadgets, the DIY community is embracing E-Ink’s versatility. Some innovative applications include:
- Home Automation Displays: Monitor conditions and control devices using E-Ink screens that provide real-time information.
- Custom Notifications Boards: Create displays that alert you to messages, reminders, or tasks.
- Digital Art Frames: Showcase rotating art collections effortlessly by using E-Ink to display various images.
Getting Started with DIY E-Ink Projects
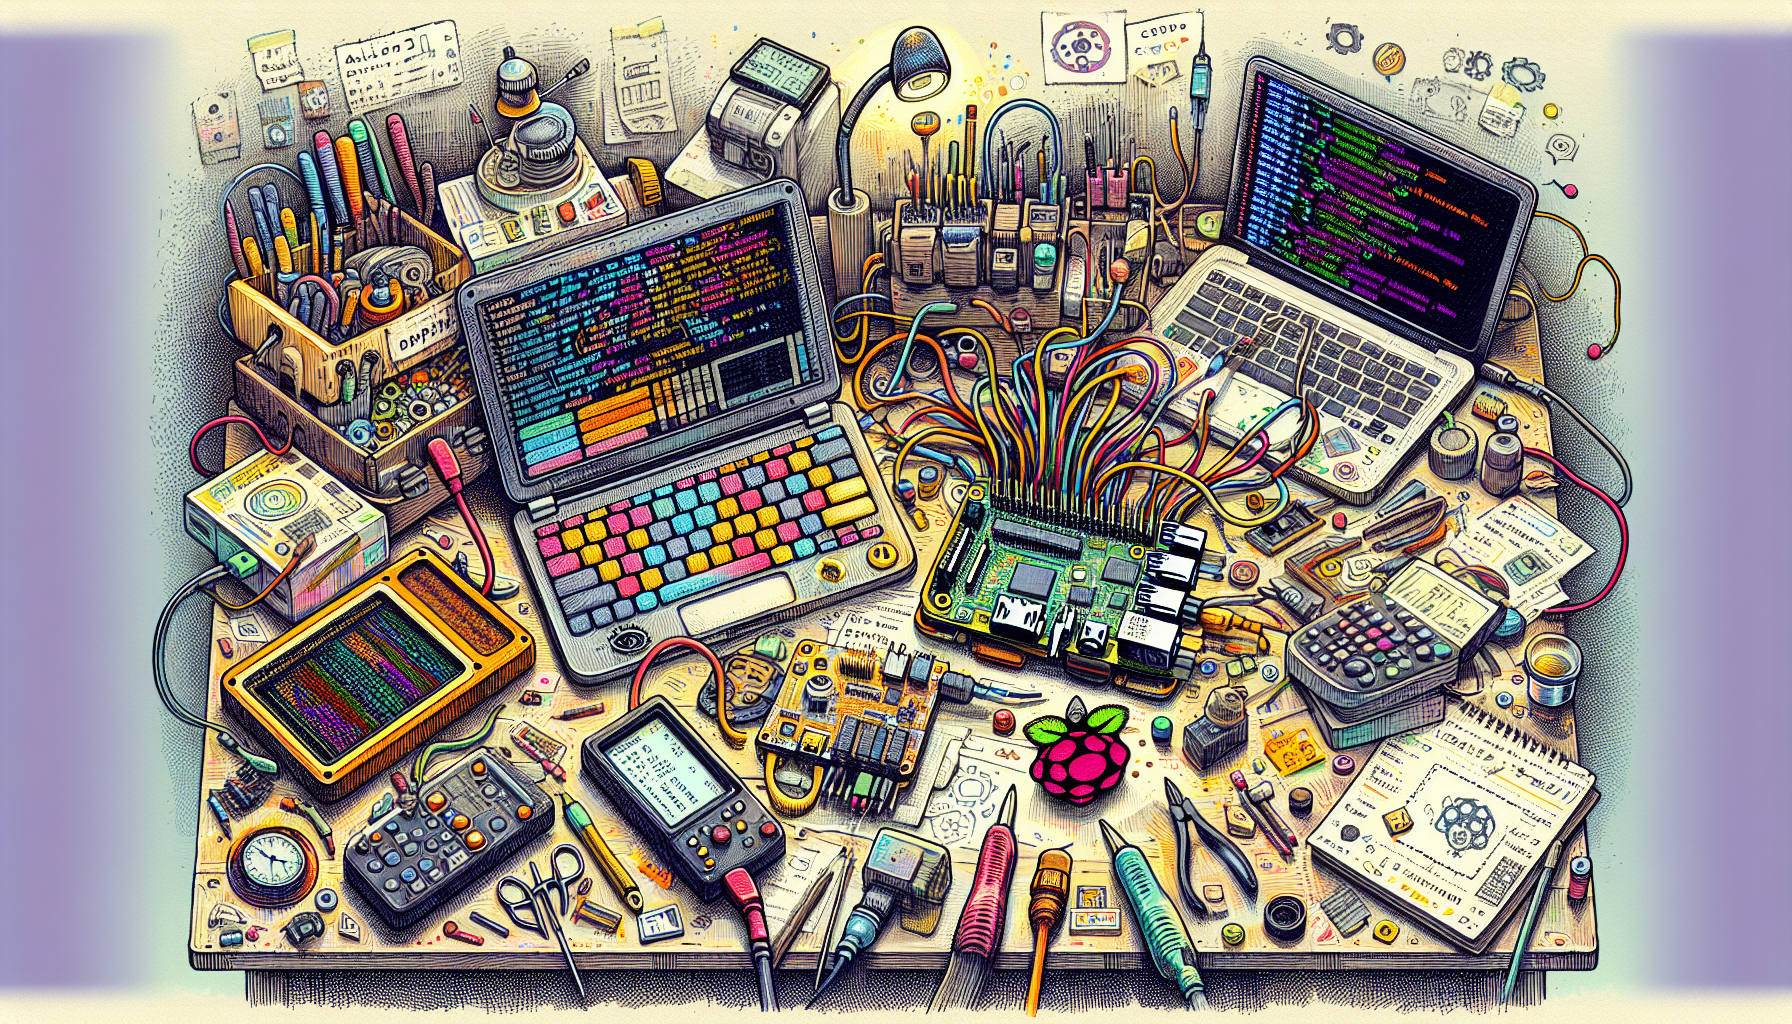
Required Components
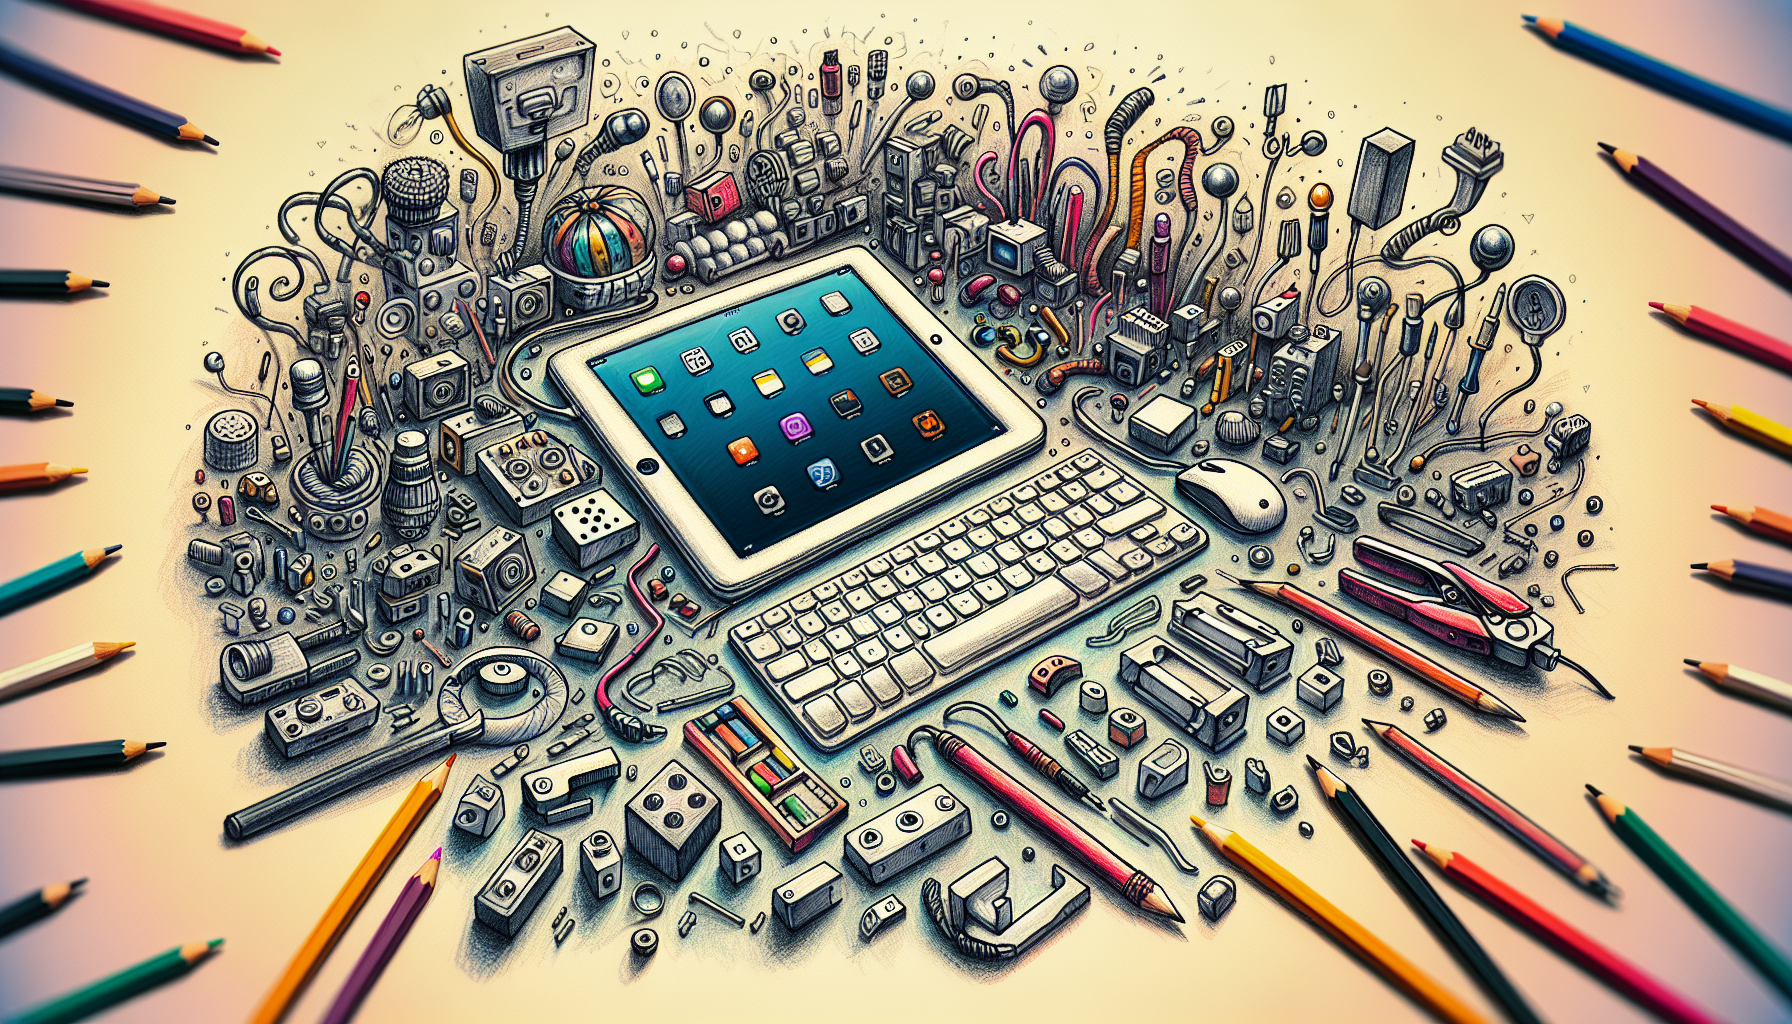
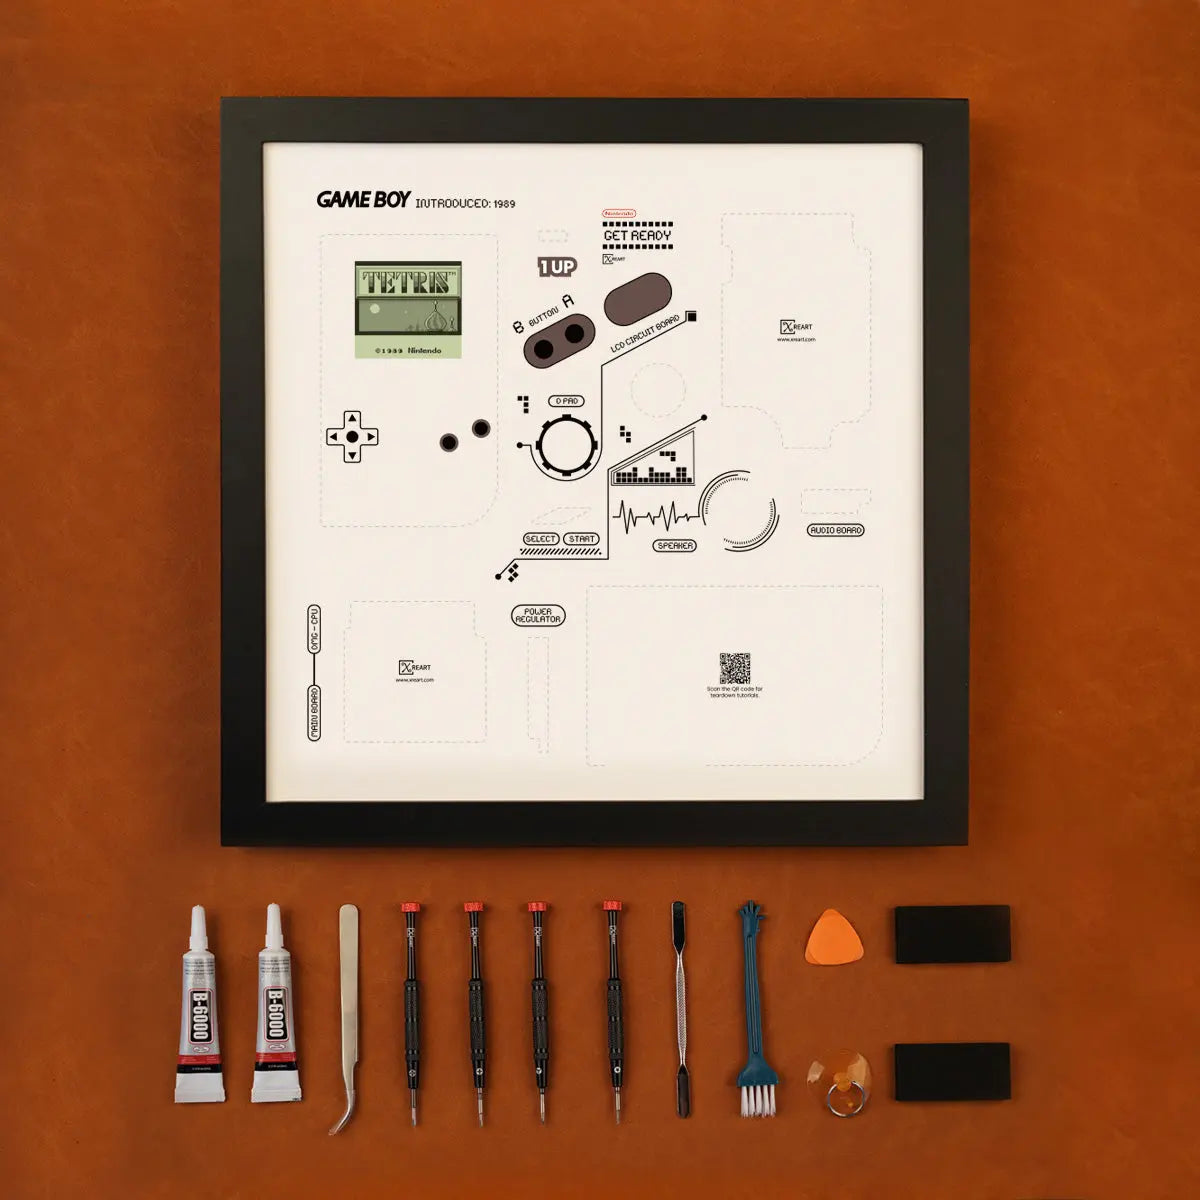
If you’re eager to venture into the world of DIY E-Ink displays, you’ll need a few essential components. These include:
- E-Ink display modules found online.
- Microcontrollers like Raspberry Pi, Arduino, or ESP32 to power and program your display.
- Other supplies such as wires, soldering tools, and perhaps a breadboard for initial setup.
Basic Setup Instructions
Starting with a simple E-Ink project involves assembling your components. Begin by connecting the E-Ink display to your microcontroller using jumper wires. For those unfamiliar with soldering, breadboards can be incredibly helpful. Make sure to follow connection diagrams closely, ensuring correct pin assignments.
Programming Basics
Programming your E-Ink display adds another layer of excitement, allowing you to tailor the behavior of your project. A wealth of open-source resources and libraries are available online, especially on platforms like GitHub. Popular programming languages for these projects include Python and C++. A simple example for displaying text can be found in the E-Ink libraries, providing a foundation to build from.
Project Ideas
Step-by-Step DIY Project: Smart Shopping List
One fun project you can create is a smart shopping list. Here’s a brief overview of how to make one:
- Materials Needed: An E-Ink display, an Arduino board, and a small keypad or touchscreen for input.
- Basic Setup: Connect the E-Ink display to your Arduino. Use the keypad or touchscreen to enter items into an array.
- Code Example: Write a simple program to display entered items on the E-Ink screen, dynamically updating as new items are added or removed.
Step-by-Step DIY Project: Calendar Display
Create a digital calendar display using E-Ink for a sleek visual reminder of important dates:
- Link your E-Ink display to a network: Configure your microcontroller to sync with online calendar services.
- Collect Calendar Data: Use APIs to fetch upcoming events and display them on your board.
- Code it Right: Leverage libraries available for E-Ink displays in Python to render your calendar visually.
Creative DIY Projects
For further inspiration, consider these creative projects:
- Digital Photo Frames: Build a frame that updates images over WiFi, allowing your display to feature a rotating gallery.
- Notifications Board: Create a board to relay important reminders like tasks, events, or even quotes.
The Future of E-Ink Displays and DIY Innovation
Emerging Trends
The future seems bright for E-Ink technology. Emerging trends include advancements in color displays that could revolutionize digital signage and interactive applications. Flexible E-Ink displays are likely to further blur the lines between traditional surfaces and digital interfaces, giving rise to entirely new applications.
Market Potential
As consumer interest grows, so does the potential for E-Ink displays in various sectors. From educational tools to smart home devices, there’s ample opportunity for innovation. I encourage readers to explore their creativity and share their unique E-Ink projects, fostering a community of DIY enthusiasts.
In Conclusion
The journey into DIY E-Ink displays offers an exciting blend of technology and creativity. Through accessible components and innovative applications, these projects empower makers of all skill levels to create personalized gadgets that enhance everyday life. Embrace the possibilities, let your imagination roam, and dive into the fascinating world of E-Ink.