DIY Raspberry Pi Projects for Creative Techies
Raspberry Pi has taken the world by storm, becoming a beloved little powerhouse for hobbyists and tech geeks alike. This compact, affordable computer is not just for the pros; it’s a fantastic tool for anyone eager to foster their creativity and dive into the realm of DIY projects. With so many possibilities at your fingertips, Raspberry Pi allows you to not only learn but have a whole lot of fun along the way. Whether you’re a beginner or an experienced tech wizard, this guide will inspire you to embark on your own Raspberry Pi adventure.
Getting Started with Raspberry Pi
What is Raspberry Pi?
At its core, Raspberry Pi is a small, single-board computer that packs an impressive punch for its size. It can do it all, from running basic programs to serving as a mini server for web apps, or even a retro gaming machine. Its versatility is awe-inspiring—think home automation, gaming, or diving into coding. Seriously, the options are endless.
Choosing the Right Model
Not all Raspberry Pis are created equal. Depending on your project, you might find one model works better for you than another:
- Raspberry Pi 4: Great for performance-heavy applications with multiple USB ports and HDMI outputs.
- Raspberry Pi 400: This one comes in a neat keyboard format, making it super convenient for beginners.
- Raspberry Pi Zero 2W: Budget-friendly and perfect for simpler projects or embedded systems.
Think about your budget, the performance you need, and the project at hand when making your decision.
Popular DIY Raspberry Pi Projects
Home Automation Projects
You can transform your living space into a smart home hub with just a bit of know-how.
Smart Home Hub
This project will allow you to control various devices from one central point:
- Key Components: Raspberry Pi, smart sensors, and home automation software like Home Assistant.
Raspberry Pi Security Camera
Want to keep an eye on things while you’re away? This is the perfect project:
- Required Accessories: A Raspberry Pi, camera module, and software such as MotionEyeOS.
Gaming Projects
If you’re a gaming aficionado, check out these fantastic projects.
Retro Gaming Console
Create your own retro gaming paradise:
- Steps: Set up your Raspberry Pi, install RetroPie, and connect your USB controllers.
DIY Arcade Cabinet
Why not take it a step further? Build your very own arcade cabinet:
- Components Required: Raspberry Pi, arcade buttons, a screen, and a DIY cabinet plan.
Fun Creative Projects
Let your imagination run wild with these exciting projects.
Magic Mirror Display
Ever dreamed of having a smart mirror? Here’s your chance:
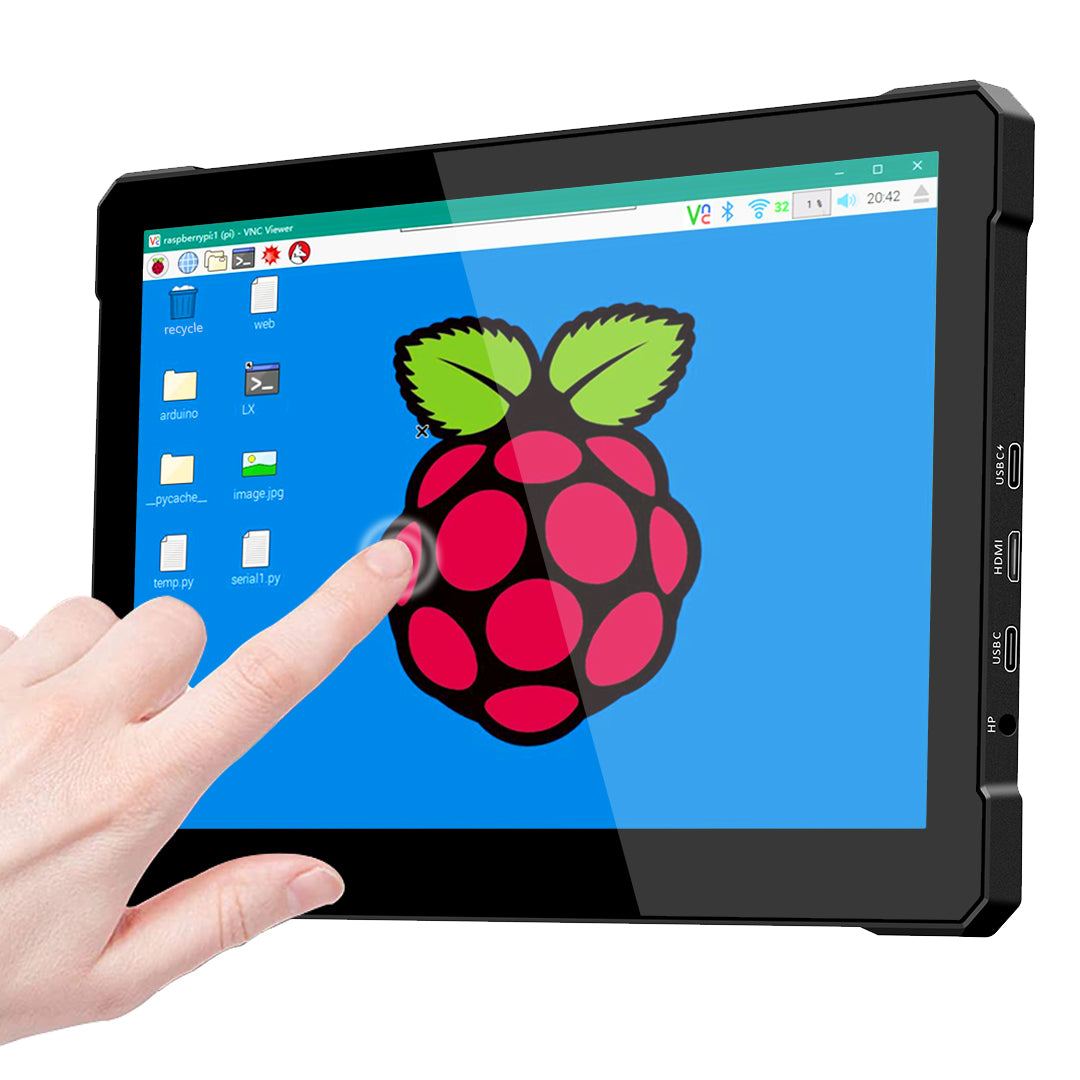
- Features: Display weather, news, and calendar events using a two-way mirror and a display screen.
- Materials Needed: Raspberry Pi, monitor, and mirror film.
Customized Digital Picture Frame
Show off your favorite memories in style:
- Setup: Load images onto your Raspberry Pi and connect it to a screen.
Tips for Successful DIY Projects
Planning Your Project
Before diving headfirst into any project, a bit of planning can save you time and frustration. Take a moment to sketch out ideas, gather all components, and troubleshoot potential issues ahead of time. The more you prepare, the smoother your project will go.
Resources and Communities
The Raspberry Pi community is vast and incredibly welcoming. If you find yourself in a pinch, turn to:
- Reddit: r/raspberry_pi for discussions and support.
- Adafruit for tutorials and project inspiration.
Additional Resources
For those keen on diving deeper into Raspberry Pi projects, here are some helpful links:
- Adafruit’s Python on Microcontrollers Newsletter keeps you up to date on the latest happenings.
- Adafruit’s Latest Raspberry Pi Products for fresh gear.
Let’s Get Creative!
There has never been a better time to get involved with Raspberry Pi projects. They not only enhance technical skills but also let your creative juices flow. So why not grab a Raspberry Pi, dive into a project, and unleash your inner techie? We’d love to hear about your adventures and ideas—share in the comments below!

