The world of DIY tech projects is expanding rapidly, and nowhere is this trend more evident than in the realm of keyboard enthusiasts. The rise of personalized setups is a clear testament to the geek culture that thrives on creativity and individual expression. Building your own keyboard not only delivers a one-of-a-kind gaming experience but also enhances your overall setup by tailoring it to your precise needs and aesthetics.
Understanding DIY Keyboard Kits
DIY keyboard kits offer a combination of various components that allow users to assemble their own custom keyboard from scratch. Typically, these kits include a PCB (printed circuit board), switches, keycaps, stabilizers, and a case, along with other essential parts. What sets DIY keyboards apart is the ability to choose your components based on personal preference. The benefits of building your own keyboard are numerous: it opens the door to personalization, as you can select everything from switch type and keycap design to RGB lighting effects. Moreover, the hands-on experience of assembling a keyboard not only provides a sense of satisfaction but also helps develop important skills, making it a rewarding venture for hobbyists.
Introducing Selected DIY Keyboard Kits
Here are a couple of outstanding DIY keyboard kits that you might want to consider for your gaming setup:
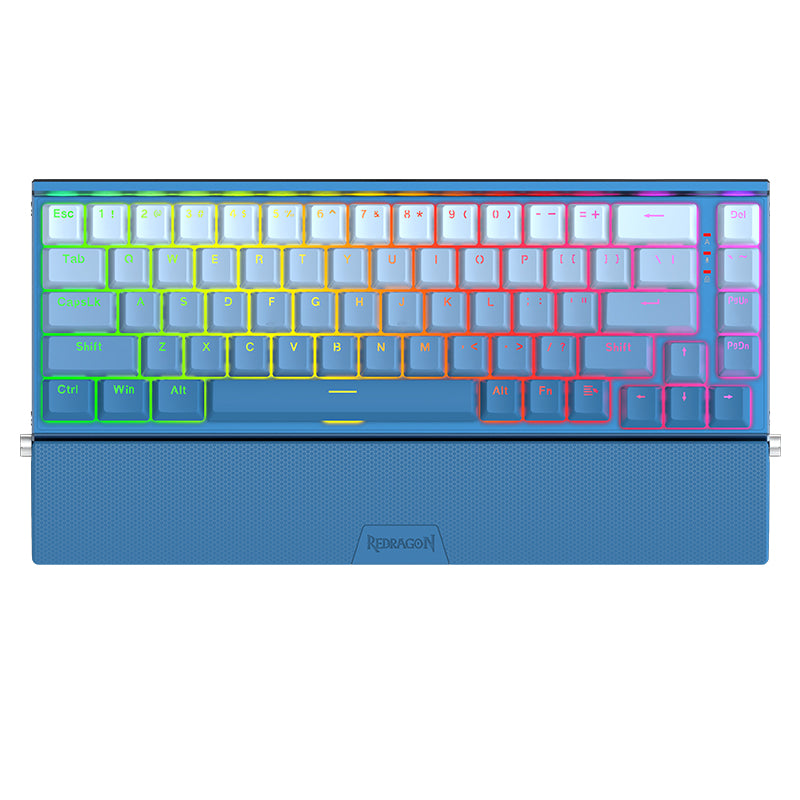
ACGAM Resin61 Wired Mechanical Keyboard Kit
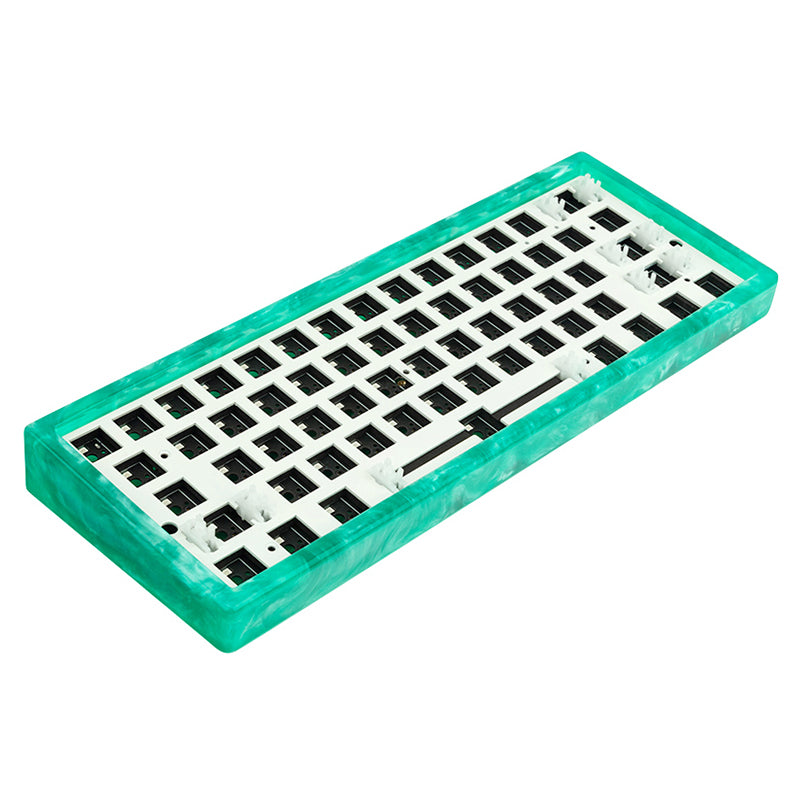
The ACGAM Resin61 is a compact 61-key mechanical keyboard kit that’s user-friendly and versatile. Featuring hot-swappable sockets, it allows you to easily swap in and out popular switch types such as Cherry MX, Kailh, and Gateron without the need for soldering. With vibrant SMD RGB backlighting, this keyboard caters to gamers and professionals alike who enjoy a touch of color in their workspace. The build quality impressively combines a durable ABS plastic case with a stainless steel plate, ensuring stability during intense gaming sessions. Additionally, users will appreciate the pre-lubed stabilizers and EVA foam included to minimize sound during typing, enhancing the overall user experience. The keyboard connects via a Type-C wired interface for reliable performance and supports NKRO (N-key rollover), allowing for every key to register effectively.
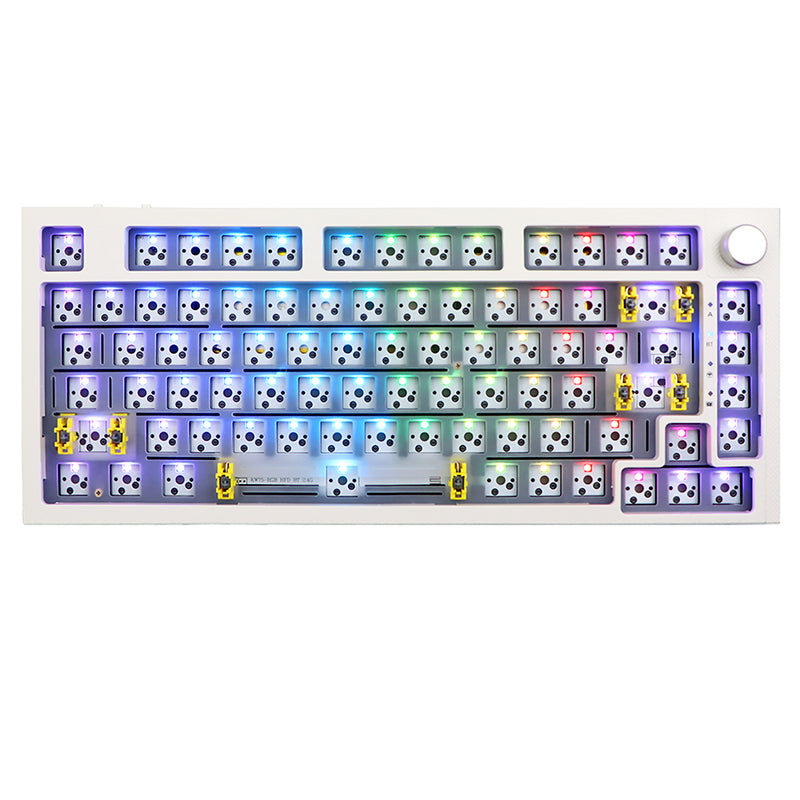
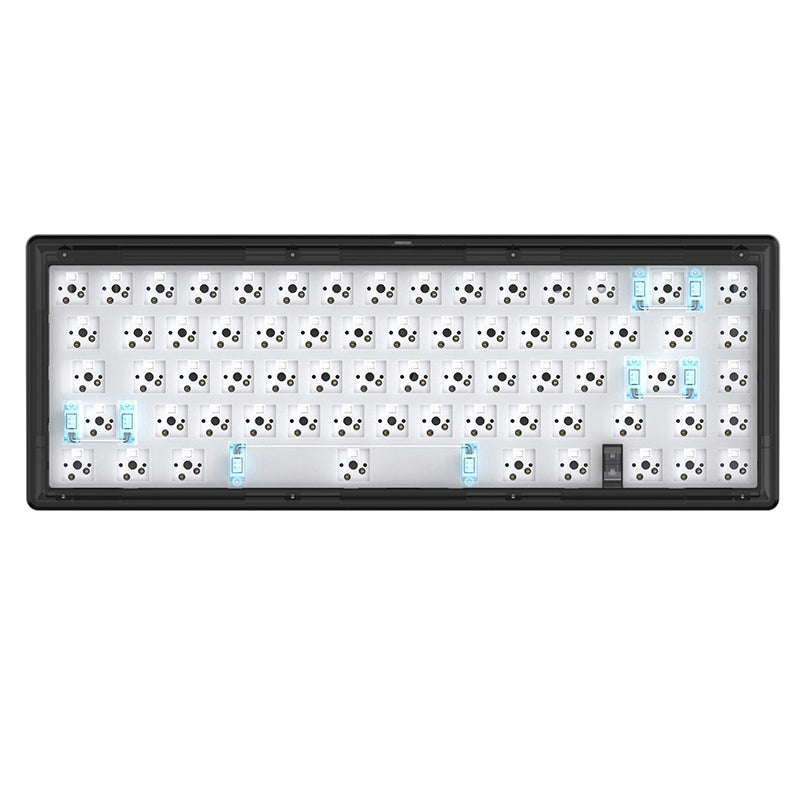
ACGAM Alice66 QMK VIA Keyboard Kit
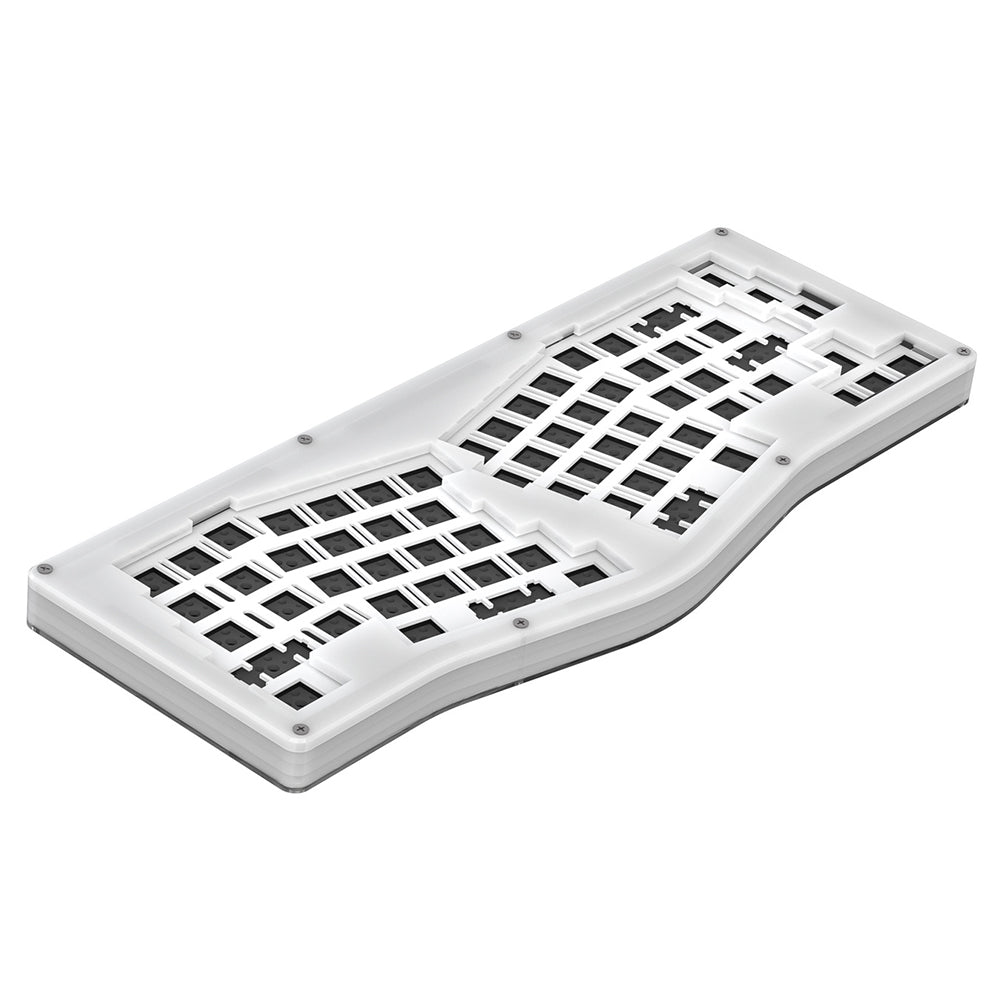
The ACGAM Alice66 QMK VIA is designed for advanced users and offers a unique split layout that enhances ergonomics while typing. This kit features a 66-key layout and hot-swappable Kailh sockets, making customization straightforward. One of the standout features of the Alice66 is its compatibility with QMK/VIA firmware, allowing extensive key customization without the hassle of reflashing firmware. Its south-facing RGB backlighting not only provides an appealing aesthetic but also allows easy visibility of the keycaps. Additionally, the gasket mount design with sound-absorbing materials ensures a more pleasant acoustic experience. If you’re someone who enjoys tweaking and optimizing your typing experience, the Alice66 might be the perfect project.
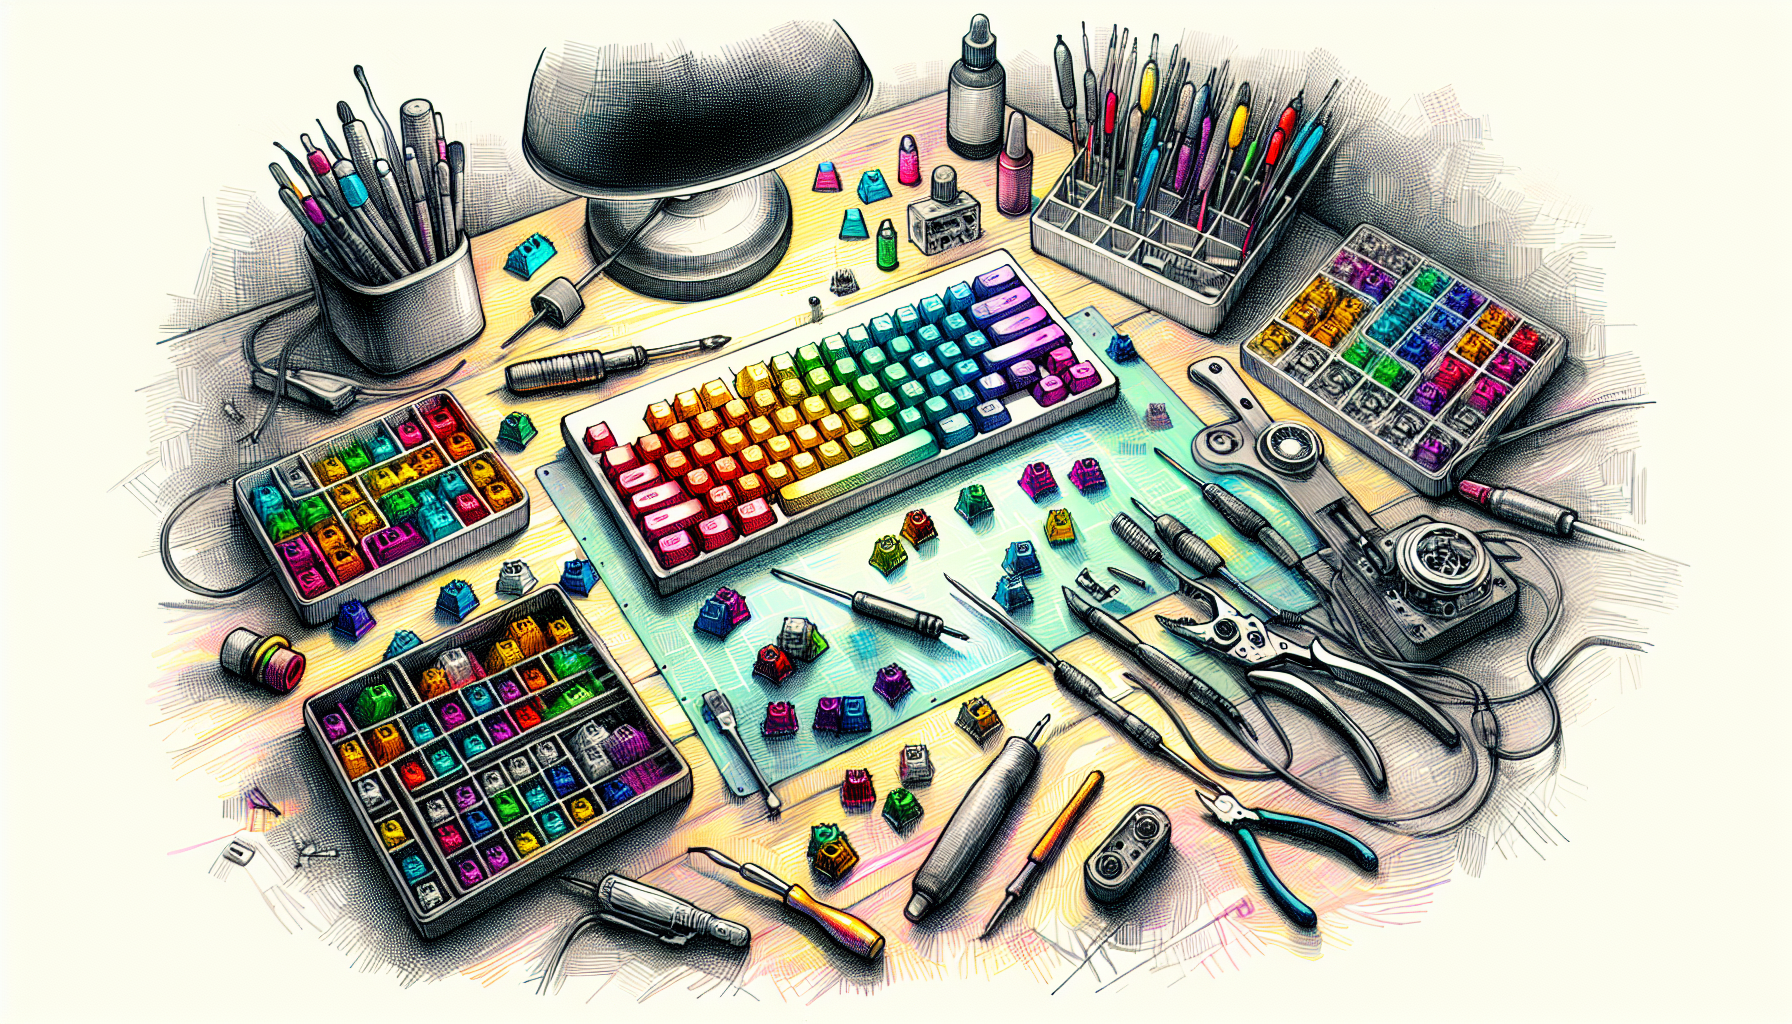
Exploring Customization Options
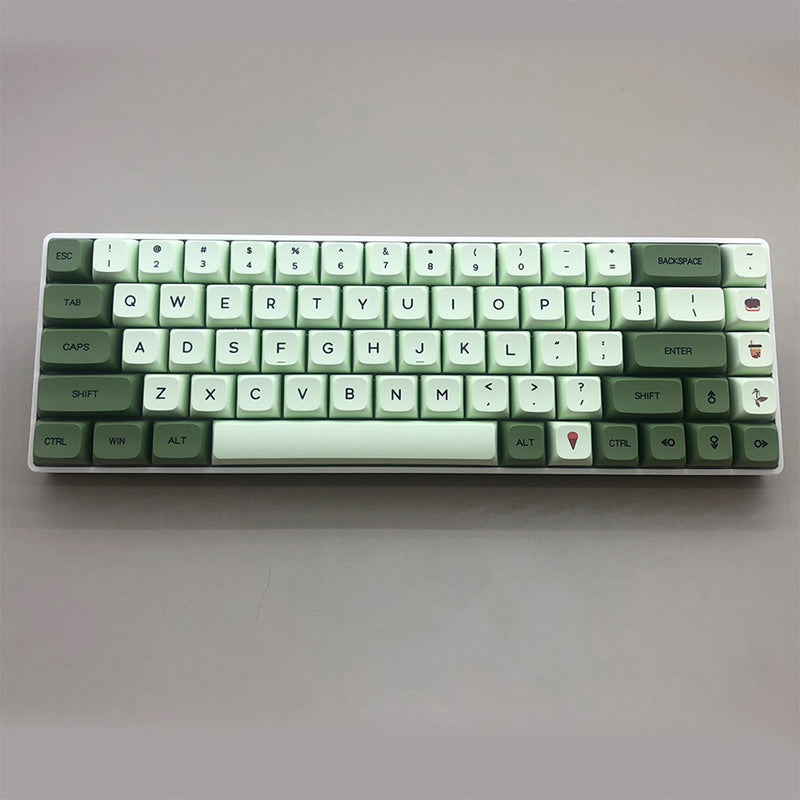
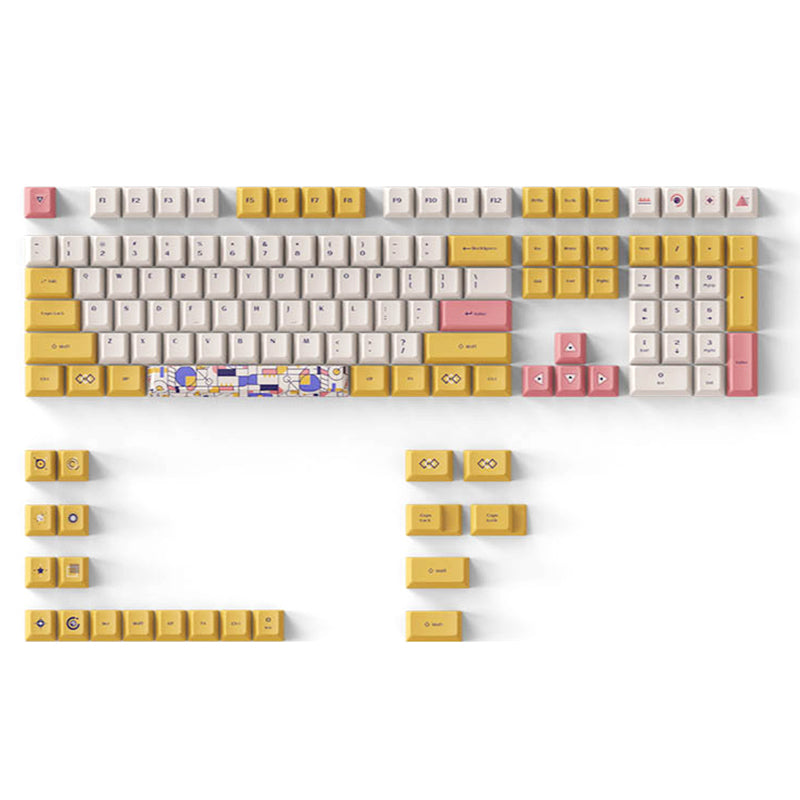
Customization is central to the DIY keyboard scene. Each kit provides a plethora of options, giving builders the power to choose everything from switch types and keycap designs to lighting effects. Creative options like themed keycaps can transform your keyboard into a personal art piece while RGB lighting can synchronize with your gaming setup or room ambiance. Here are some core customization aspects to consider:
- Switch Options: Choose from tactile, linear, or clicky switches based on your preferred feel and sound.
- Keycap Styles: Select colors and profiles that match your gaming setup or reflect your personality.
- RGB Lighting: Many kits include customizable RGB options that can be programmed for dynamic effects during gaming.
These features contribute to a distinct gaming experience, setting you apart from standard pre-built keyboards.
Getting Started with Your DIY Keyboard
Before diving into your DIY keyboard project, it’s essential to gather the right tools and materials. Here’s a handy list of what you’ll need:
- Screwdriver set
- Soldering iron (if your kit requires soldering)
- Wire cutters
- Switch puller tool (included in most kits)
- Lubricant for switches and stabilizers (optional)
For first-time builders, here are some basic tips to ensure a smooth assembly process:
- Follow Instructions: Ensure you read through the manual thoroughly before starting.
- Be Patient: Building something new can be nerve-wracking, so feel free to take breaks if you’re feeling frustrated.
- Plan Your Layout: Visualizing your keyboard layout can save you headaches later on.
Engaging in the DIY keyboard community can be incredibly rewarding, offering insights and support as you navigate your build.
Craft Your Gaming Experience
DIY keyboard kits are not just about typing; they encapsulate the essence of personalization and creativity in gaming setups. They empower gamers to create something that reflects their style while enhancing their overall experience. Engaging in these DIY projects leads to a deeper understanding of your gear and an incredibly rewarding sense of accomplishment. If you’re a gaming enthusiast looking to elevate your setup, why not explore the world of DIY keyboard kits? Join the community, share your builds, and tell us about your experiences!