When it comes to DIY robotics, few projects are as delightful and engaging as a face-tracking goldfish launcher. This unique creation perfectly blends playful interaction with the fundamentals of robotics, making it both a fun and educational endeavor. Whether you’re a seasoned maker or just dipping your toes into the world of electronics, this project invites creativity while teaching valuable technical skills.
Understanding Face Tracking Technology
Face-tracking technology has come a long way since its inception, relying on advanced algorithms that detect human faces in real-time. This technology typically uses cameras and machine learning to identify facial features, enabling a robot to respond accordingly. In the context of the goldfish launcher, it allows the device to aim and launch at the person’s face, creating an entertaining and interactive experience.
The applications of face-tracking in robotics are vast and ever-growing. From gaming interactions to social robots, understanding facial recognition opens the door to engaging and immersive user experiences. Not only is it a critical component for modern robotics, but it also adds a layer of fun and novelty to projects like our playful launcher.
Building the Goldfish Launcher
Before diving into assembly, it’s essential to gather all necessary materials. Here’s what you’ll need to get started:
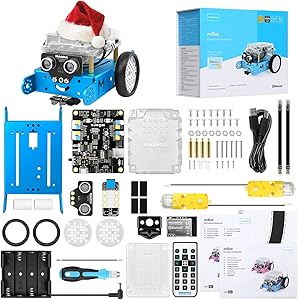
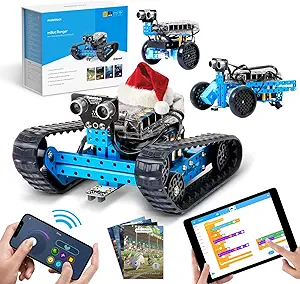
- Microcontroller (Arduino or Raspberry Pi)
- Servo motors (for the launching mechanism)
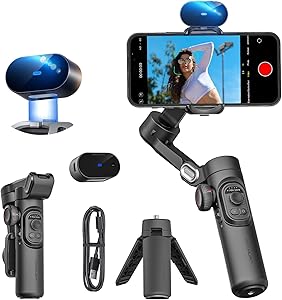
- Face-tracking camera or sensor
- Power supply (batteries or USB connection)
- Shooting mechanism (such as a slingshot or catapult-style launcher)
- Optional decorative elements like paint or stickers
Now that you have the materials, let’s go through the steps to bring your goldfish launcher to life:
- Set up your microcontroller: Follow any specific instructions for your chosen microcontroller. Install the necessary software on your computer and connect the microcontroller to begin coding.
- Install face-tracking software: There are numerous libraries available online that you can utilize. Look for open-source options to save time and adapt them to meet your project’s needs.
- Assemble the launcher mechanism: Create a structure for the launcher, ensuring it can hold the ammunition securely. Adjust the angle of launch with your servo motors for maximum effectiveness.
- Connect all components: Wire your camera, motors, and power supply to the microcontroller, making sure to follow wiring diagrams carefully to avoid mismatches.
- Testing and calibrating the system: Once everything is connected, it’s time to power on your creation. Test the face-tracking capabilities and fine-tune the servos for accurate launching.
As you create your launcher, don’t hesitate to add personal touches. Go wild with colors or design fun shapes that make your project even more visually appealing. Remember, creativity is a significant part of the DIY experience.
Exploring Robotics Education
Building a DIY face-tracking goldfish launcher offers much more than mere entertainment. It serves as an excellent introduction to basic principles of robotics. As you assemble and code, foundational concepts in programming and electronics come into play, fostering both understanding and interest in STEM fields.
The project encourages problem-solving and creative thinking as you face challenges—whether it’s getting the launcher to function efficiently or refining the code for better accuracy. Let’s not forget the social aspect! This project is perfect for group collaborations. Gather friends or family for a launch party, or make it part of a classroom activity, allowing everyone to engage in a common goal.
Learning outcomes extend beyond mere technical skills. Participants can gain insights into project management, teamwork, and innovative thinking. It’s heartening to see young minds engage with technology meaningfully.
Wrap-Up And Next Steps
Not only does the DIY face-tracking goldfish launcher provide an opportunity for fun and play, but it also opens avenues for valuable learning experiences. I encourage you to explore this project, whether for personal enjoyment or educational purposes. The world of robotics is vast, and there are countless directions this project can lead you.
As you delve into your creations, share your versions or modifications online. Let the community see your innovative implementations and inspire others to join the exciting journey of DIY robotics. Happy launching!